Are you looking for Father’s Day Cards to Make?
Father’s Day is a holiday honoring fathers, celebrated in the United States on the third Sunday in June.
On this day, children get a chance to appreciate their fathers. They give cards and presents to their father to show that they love them.
Instead of picking up a generic present from the store, let’s make one of these DIY Father’s Day cards below. Homemade card ideas are a special way to tell your dad just how amazing he is. That is also the perfect way to get children involved in making something personal for Dad or Grandpa to this day. They can enjoy these handmade cards long after the holiday has passed.
No matter what you pick, all of these cards make great Father’s Day crafts for any DIY newbie or expert, and some are even simple enough for kids to make on their own (with some parental supervision). But once you’re done with the cutting and gluing, be sure to spend some time coming up with thoughtful Father’s Day messages to write inside. And you can try your hand at crafting a DIY Father’s Day gift to go along with these cards.
This design is perfect because it’s really simple. This card will only take a few minutes to make, and you can have lots of fun choosing the paper to make it from!
Let’s follow these super easy step-by-step instructions to make a super card for your Dad.
———–
Shirt card
Materials
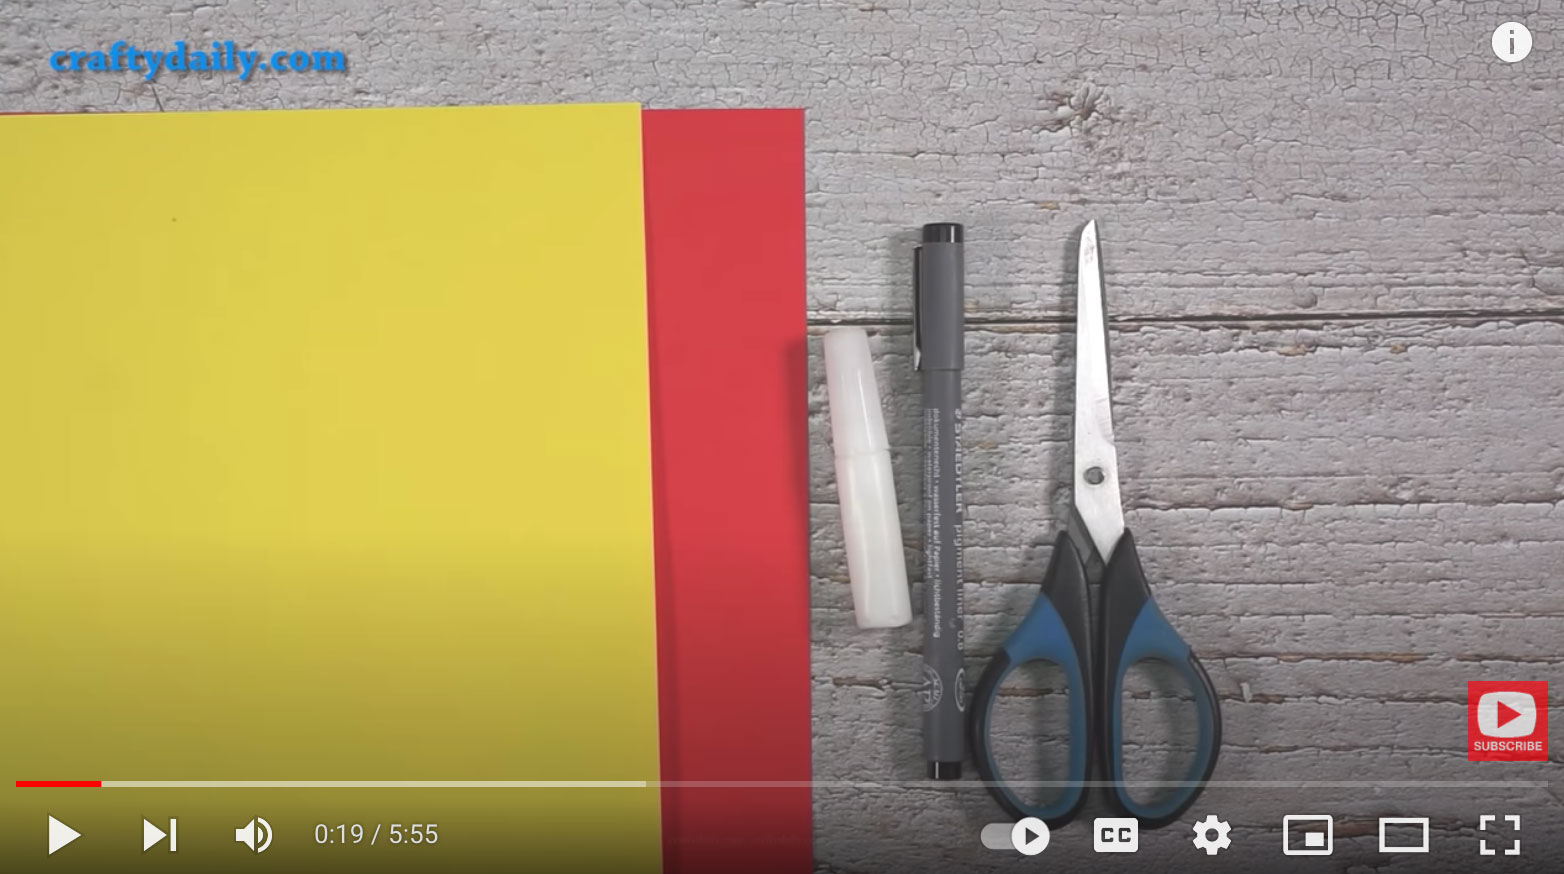
You will need
- color paper
- ruler
- pencil
- scissors
- glue
Optional: sequins, buttons, or other embellishments

Instructions
Step 1:
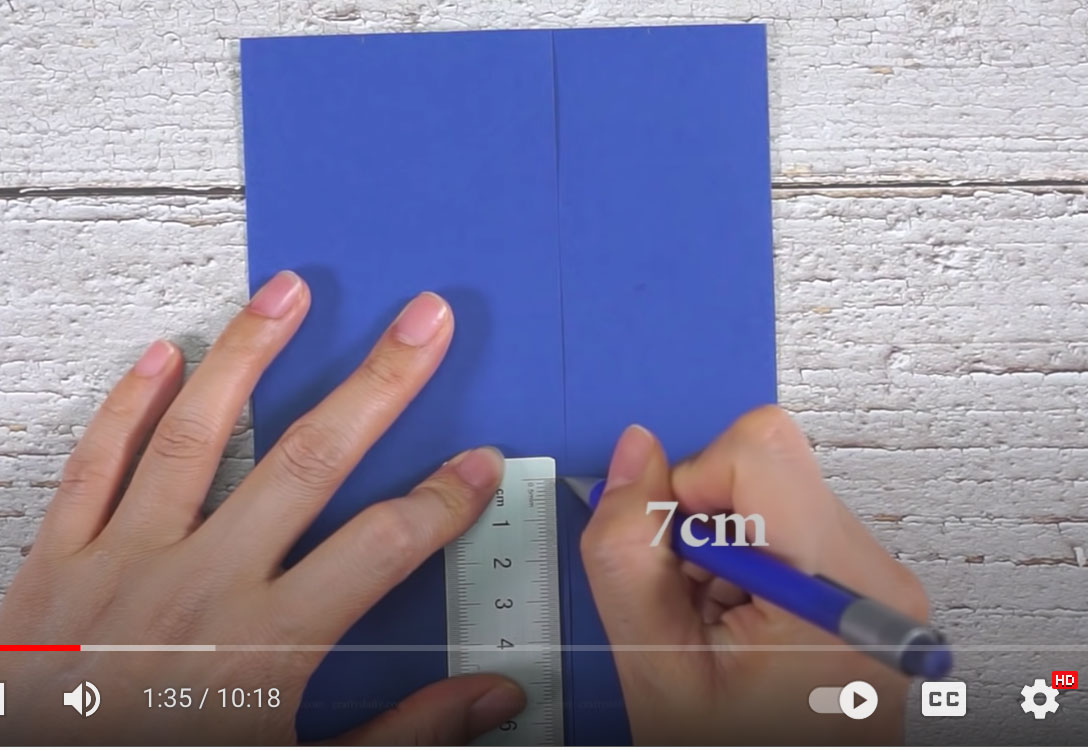
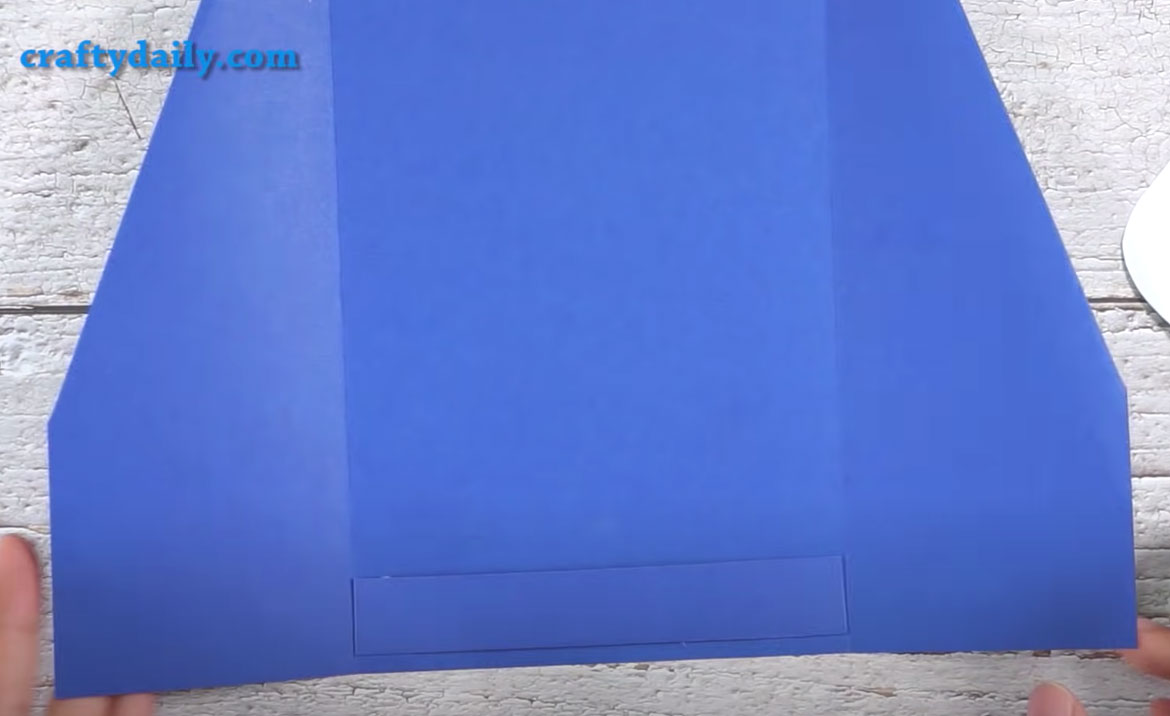
Firstly, you need color paper 18x28cm
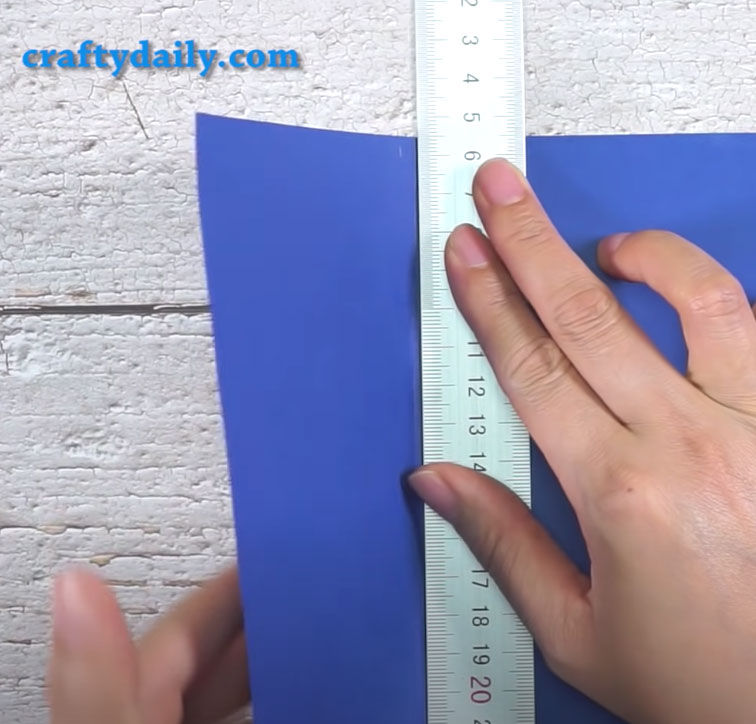
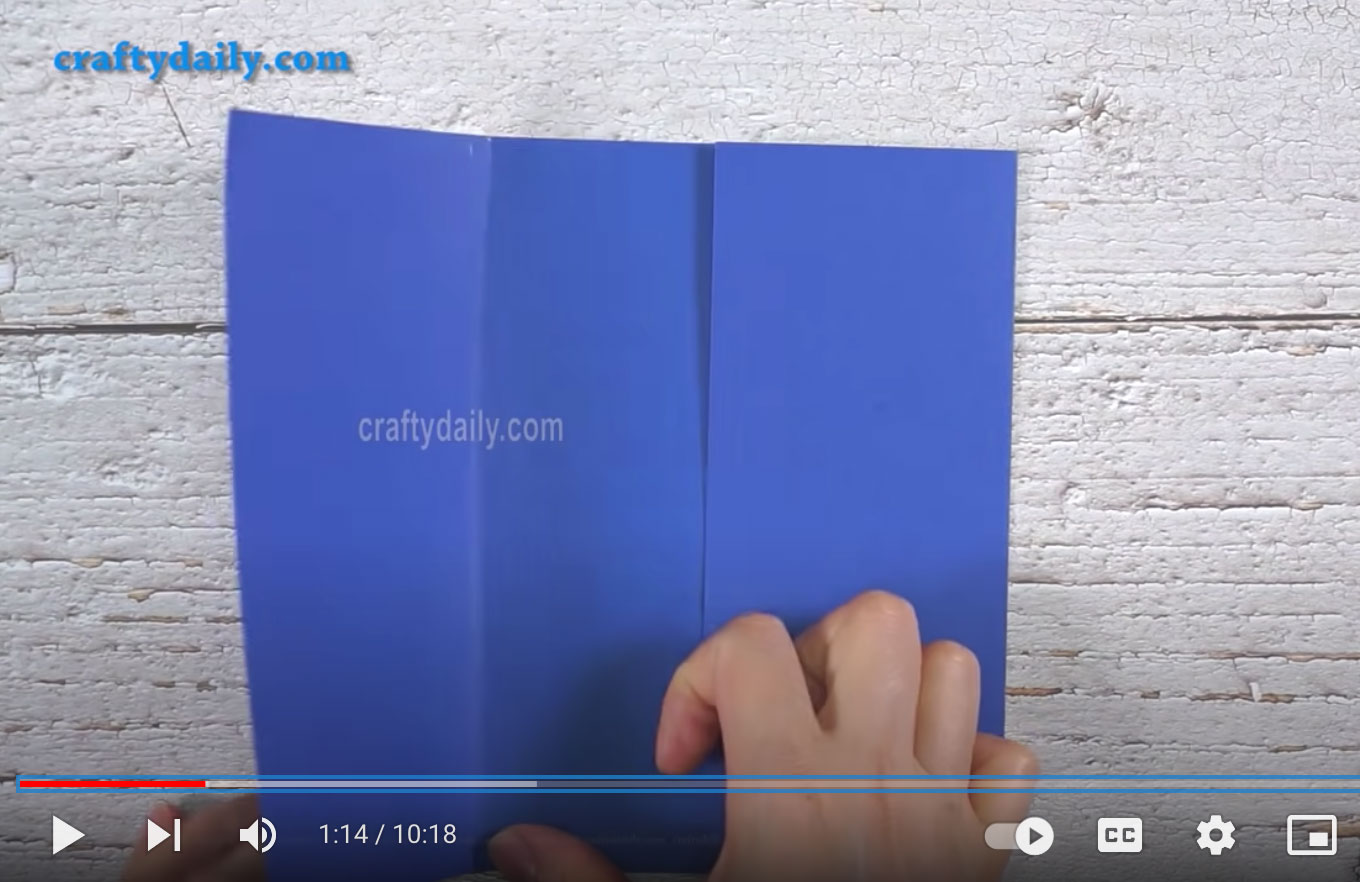
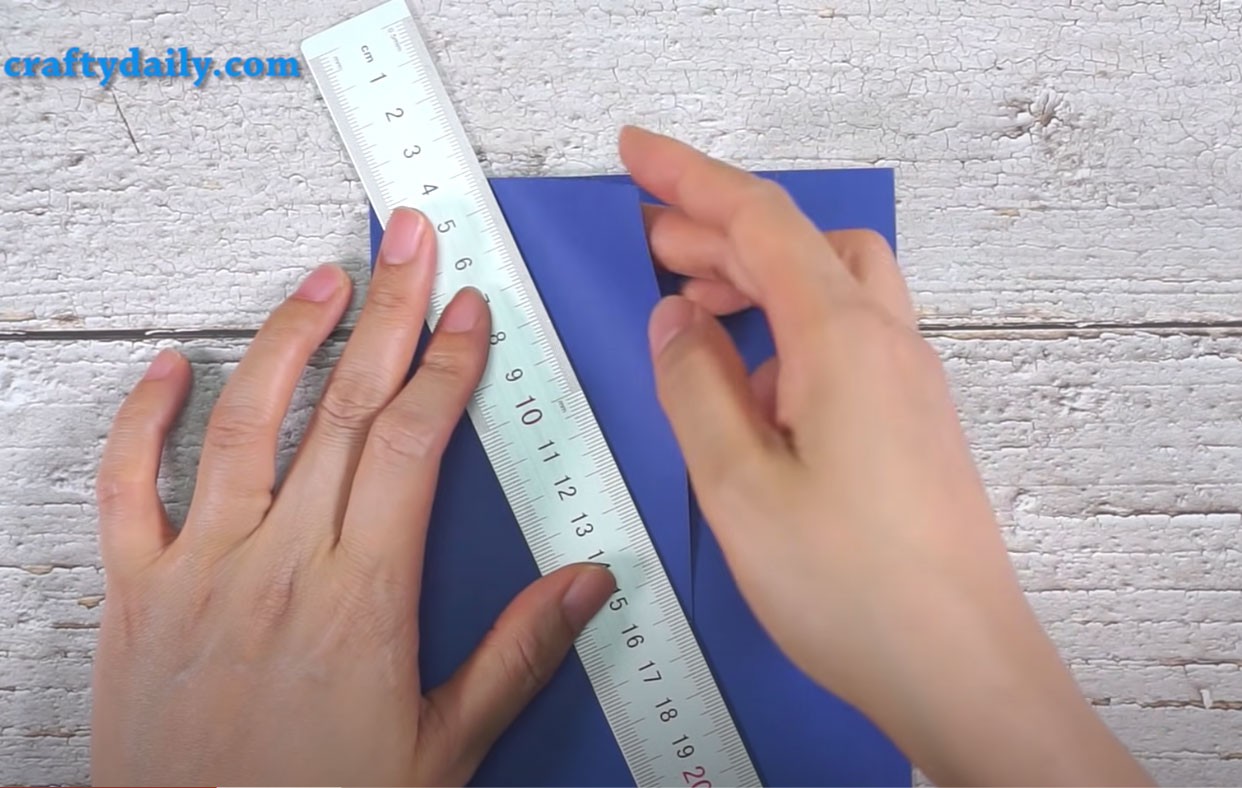
Score and fold paper into 3 parts (7.5-13-7.5 cm).
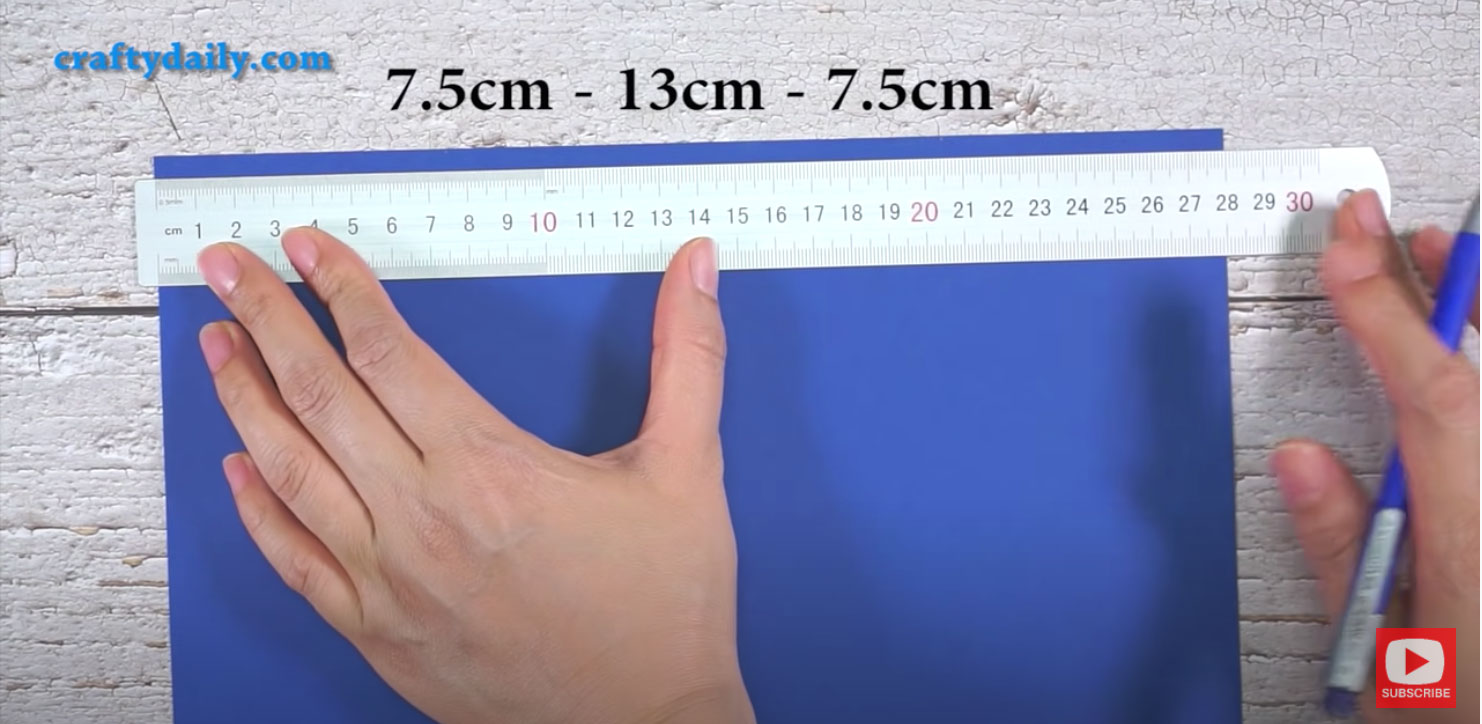
Fold these parts all the way down the paper. It’s easier when you use a ruler, the sharp edge of the table to fold.
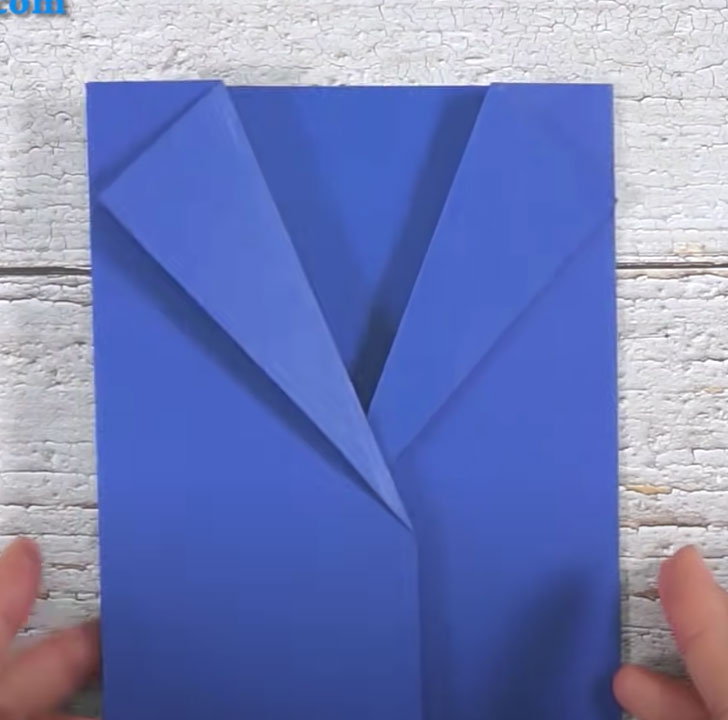
Step 2: Make a collar
Mark 2 points like the pictures below.
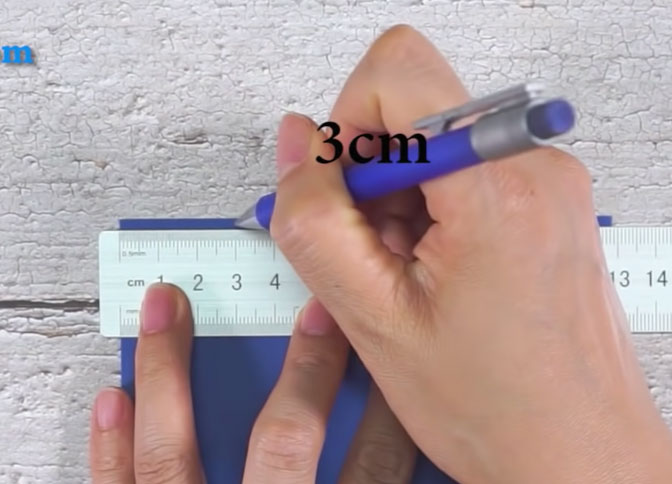
Crease a line from the 1st to the 2sd mark, and fold-down flap to make the collar. Use a ruler to do it better.
Repeat with the second collar.
Glue isn’t necessary to secure the collar but can be added.
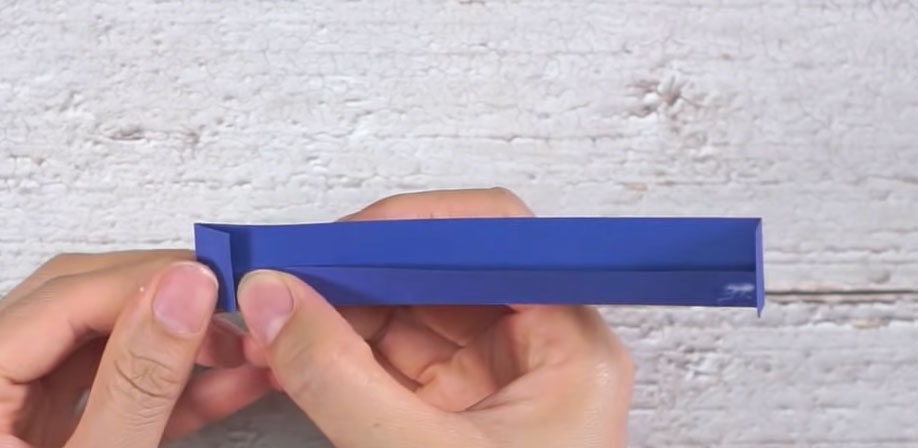
You need to strip 3x15cm. Fold 1cm around the strip and stick it to make a small shelf inside the suit.
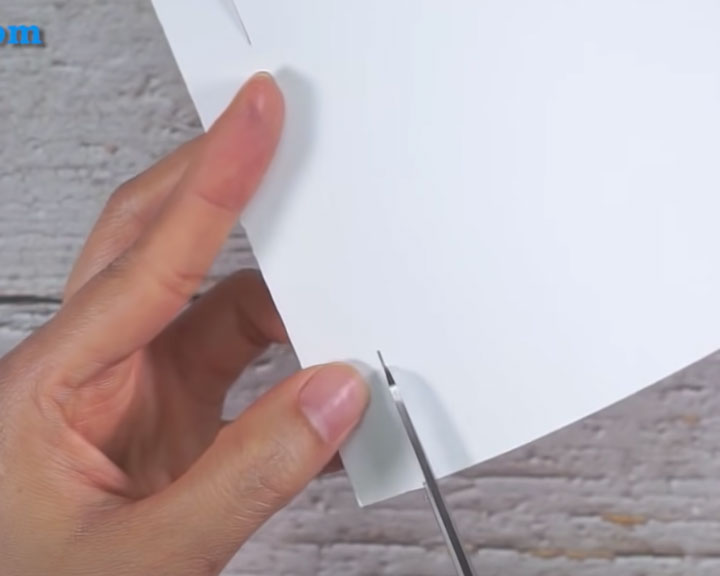
Step 3: Make a shirt
You need a paper 13x21cm
Cut a small slit on each side (at the top of the paper). The size of the slits will depend on the size of your paper. My paper was 13x21cm and my slits were 1.5x3cm on each side.
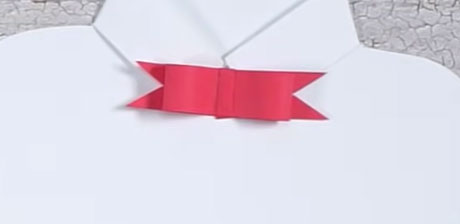
Fold the top of the card to create a shirt collar.
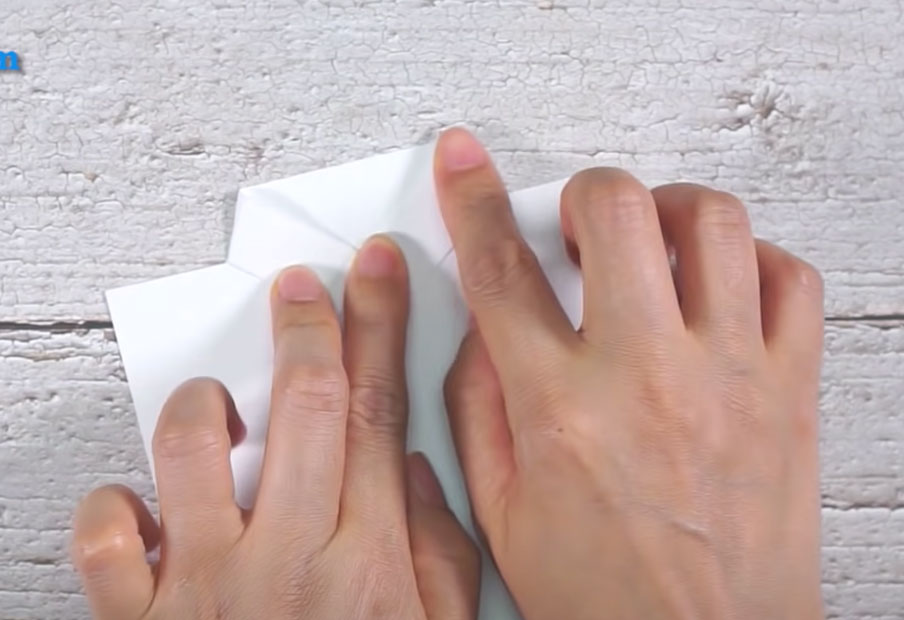
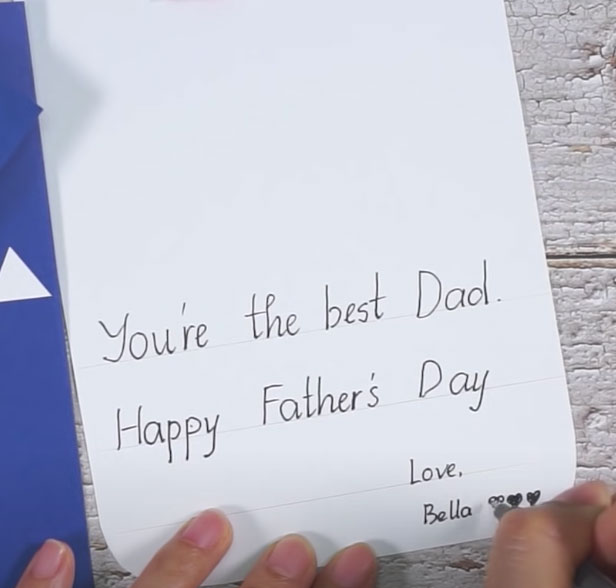
Round off four corners and write your message inside the shirt.

Step 4: Make a bow-tie
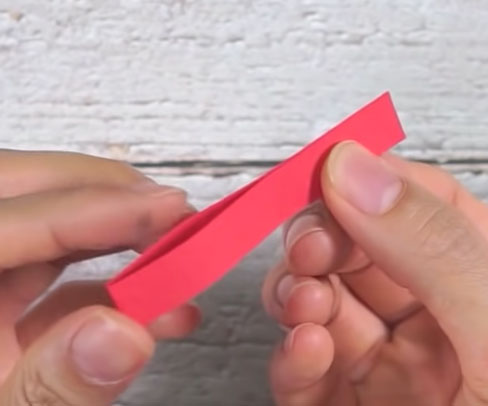
Make a bow tie with a strip 1x6cm
Fold that strip in half.
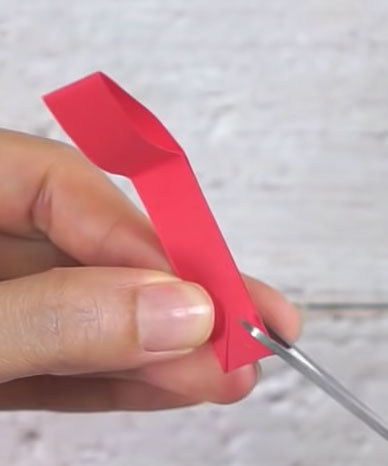
Cut 2 triangles at the end of the strip.
Use glue and another strip to secure the bow tie.
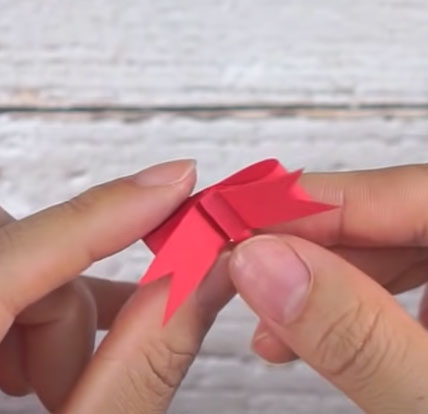
Stick this bow tie to the shirt collar.
Step 5: Decorate
You can decorate suits with buttons, and some sequins…to make a card your own style.
It’s all personal preference! Let your card dry completely.
And that’s it! Isn’t this just the simplest card!
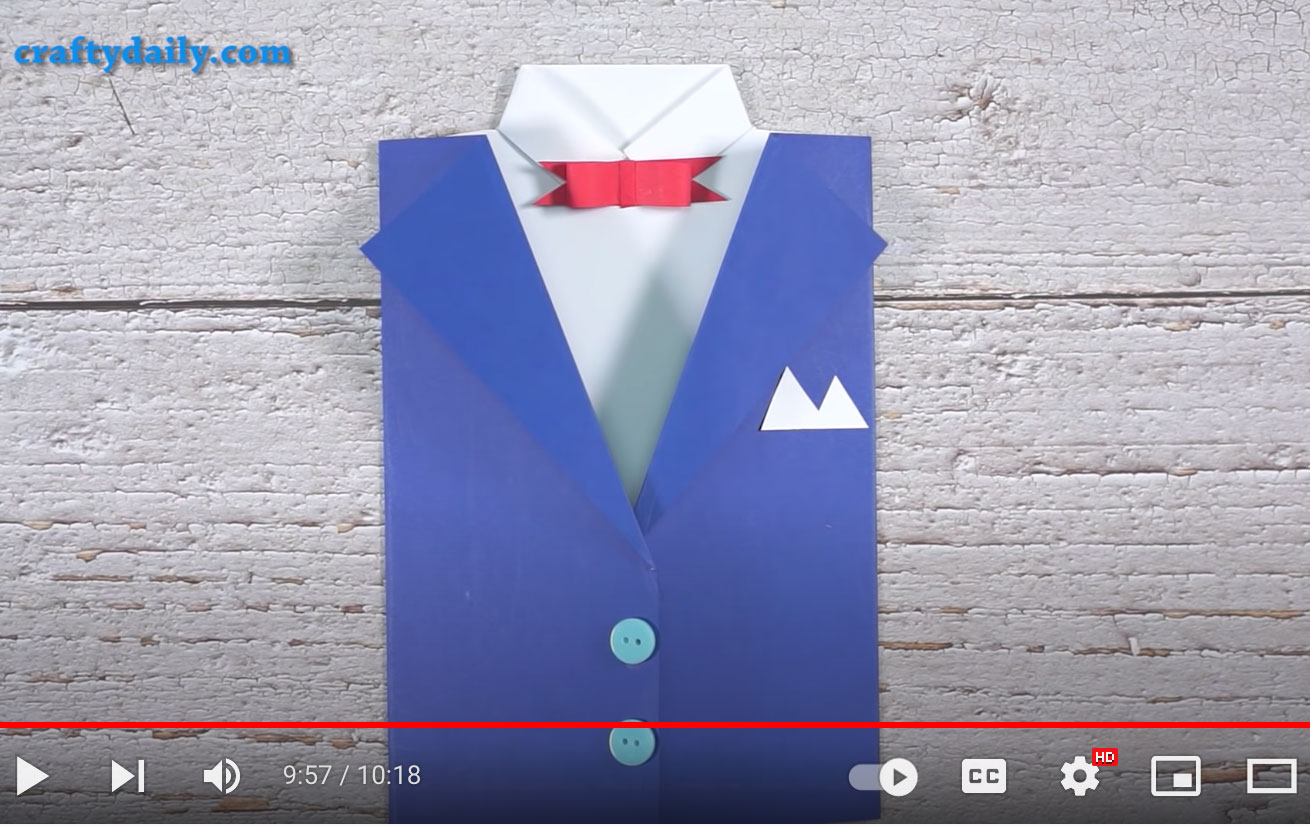 Dad will surely love this fun little creative card.
———–
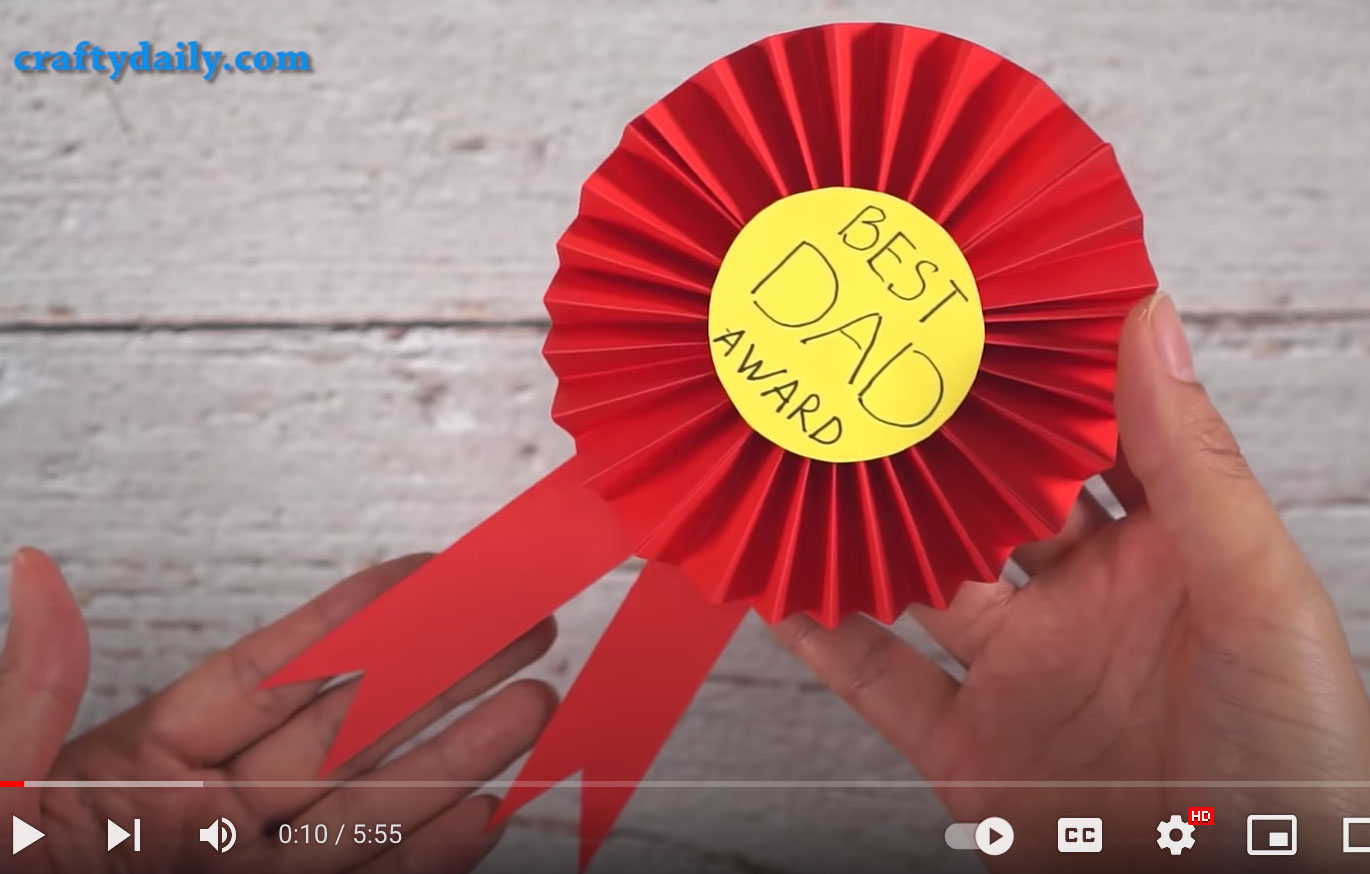
Award Ribbon Rosette
These award ribbon rosettes are a great way to make someone feel special. Simply change the color and style of paper, and you have a lovely hand-made gift that is way spiffier than store-bought versions. You can also use them for a lot of other occasions.
It looks easy while make but it has many meanings.
Now let’s make Paper Award Ribbon Rosette with our simple, easy-to-follow tutorial.
Materials
You will need
- color paper
- pencil
- scissors
- glue
Instructions
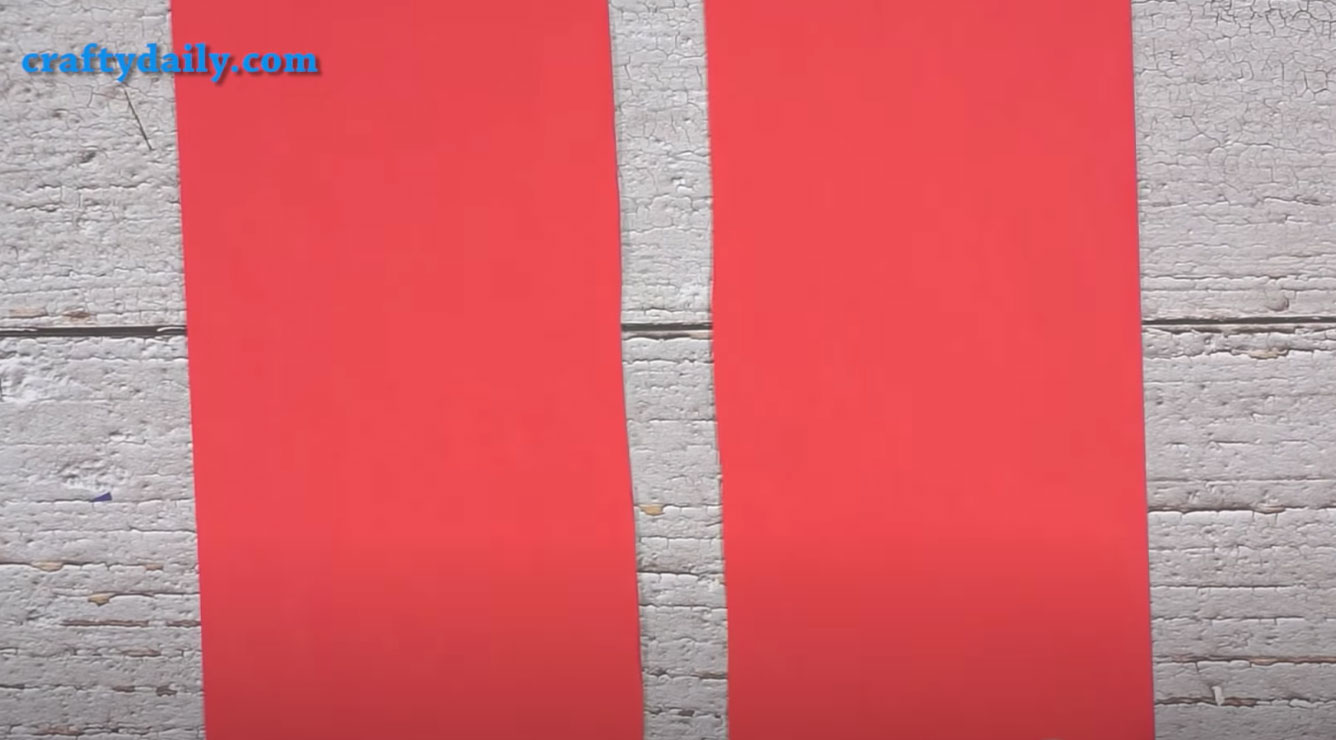
Step 1: Cut
Firstly, you divide the color paper into 2 strips. The wider the paper strips the bigger the circle of a paper award. You can change the look and size of strips as you like.
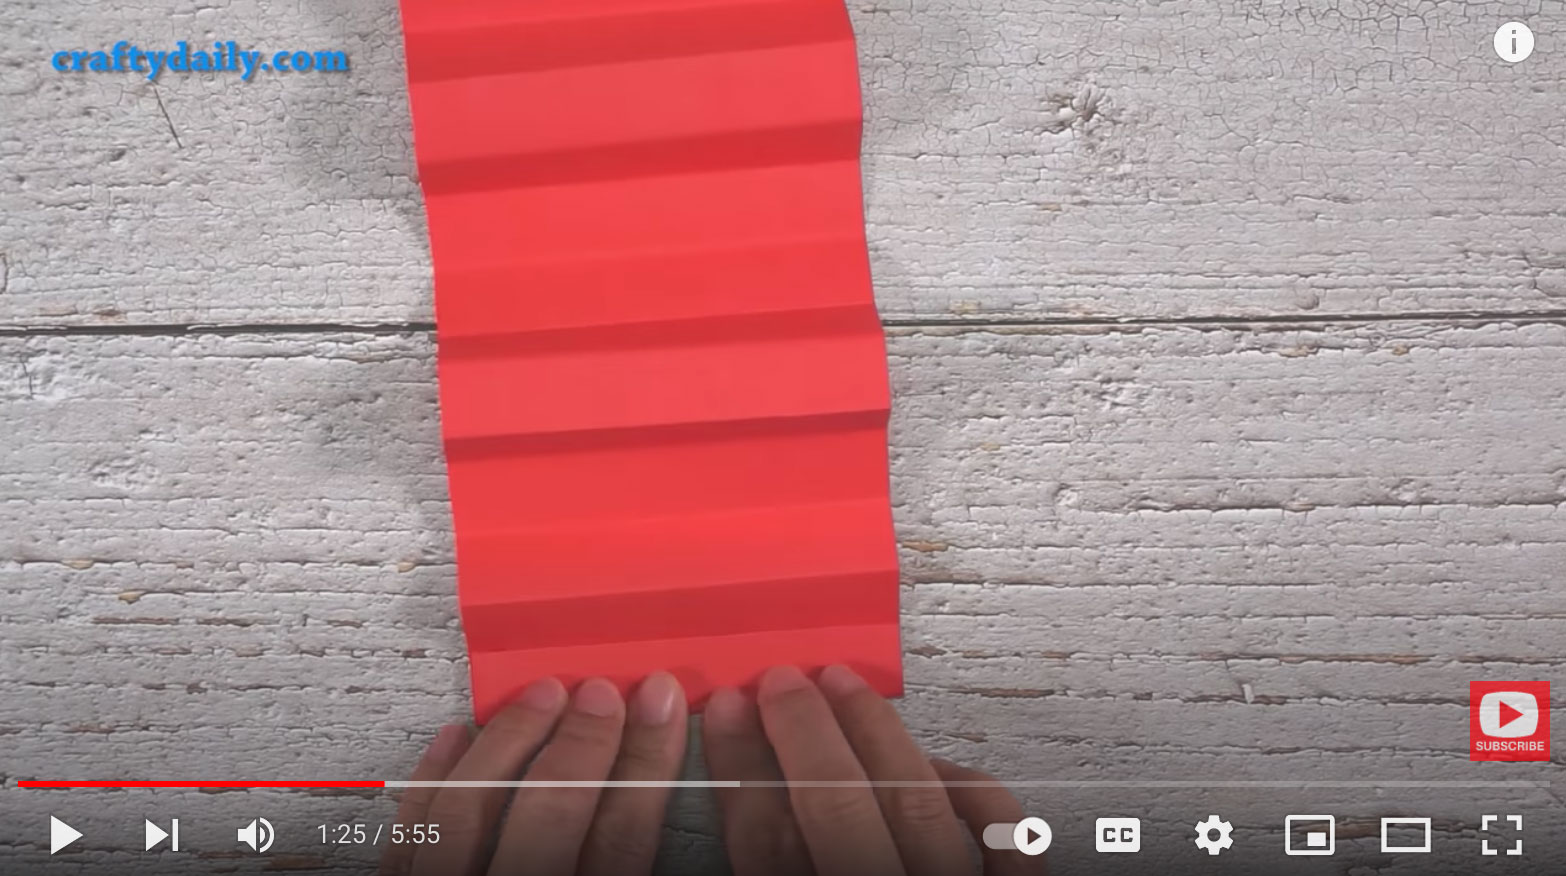
Step 2: Create Scoring Lines
Score (or fold) every ½” along the length of the strips using the scoring tool.
If you have a table with a sharp edge, you can use the edge of a table or just a lid of a pen to make a mark every ½” all the way down the strips. Remember to use a ruler and soft surface, like a cutting mat.
There are many ways to do this but if you are going to make a lot of these I’d recommend a scoring tool, saves loads of time!
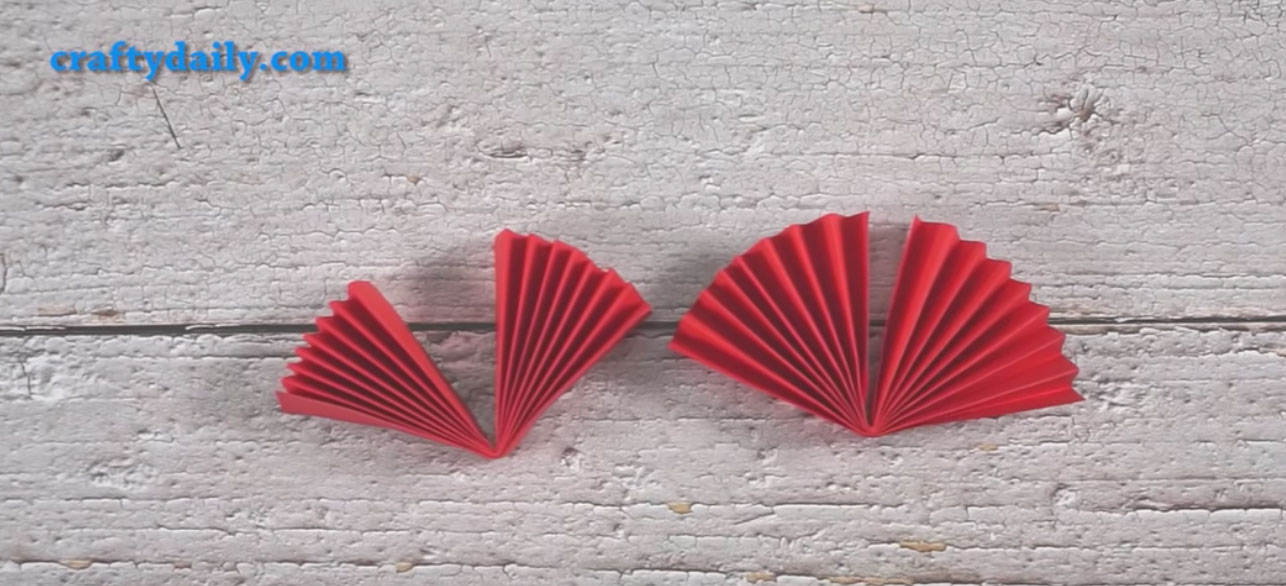
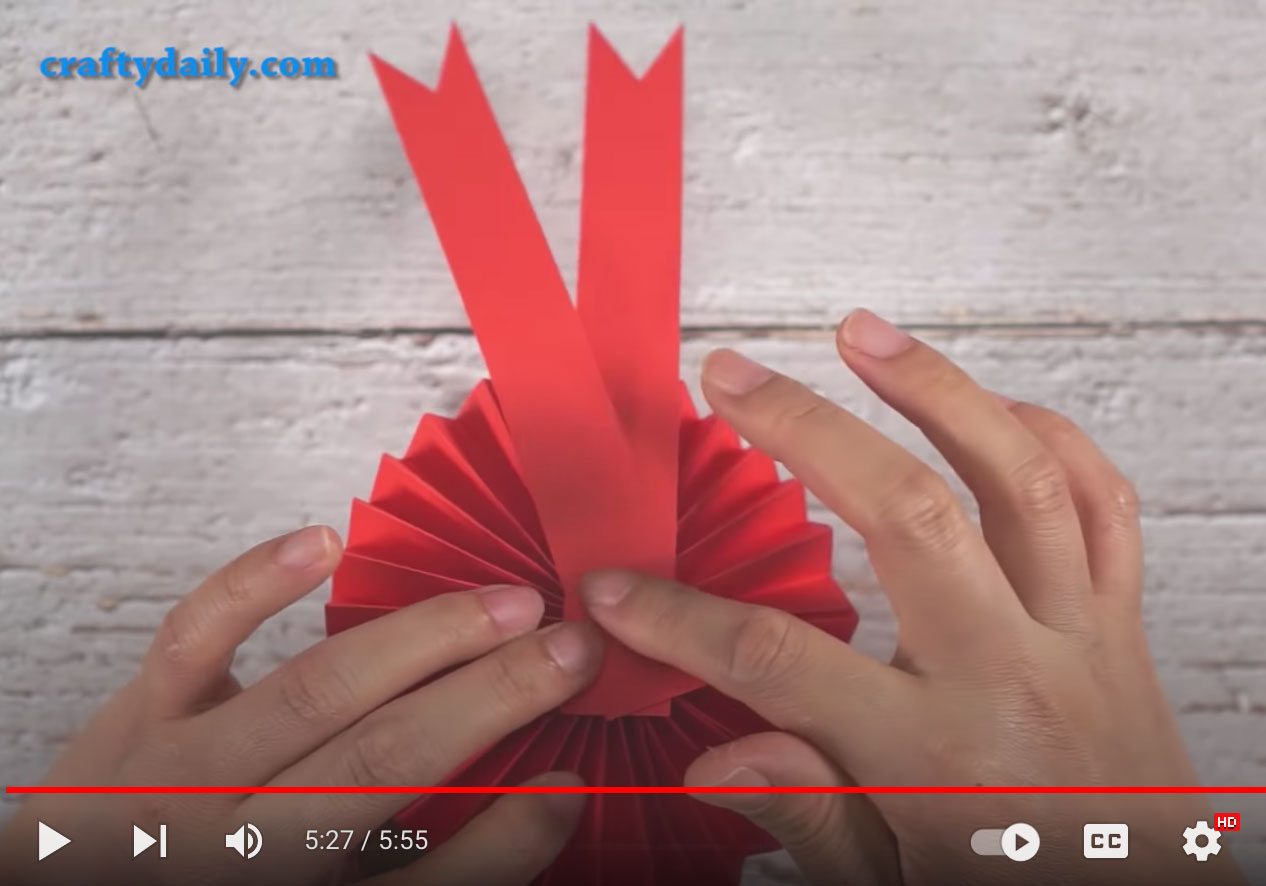
Step 3: Fold
Next, fold both strips like an accordion.
Then fold the strips in a half
Apply a bit of adhesive to the corner of the strips and stick them together (you can also use hot glue if you prefer).
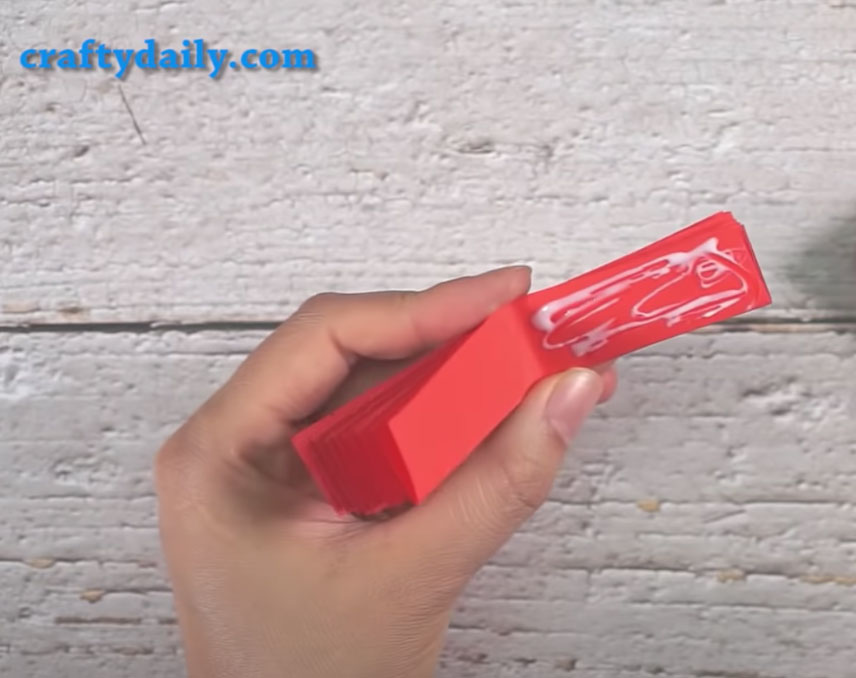
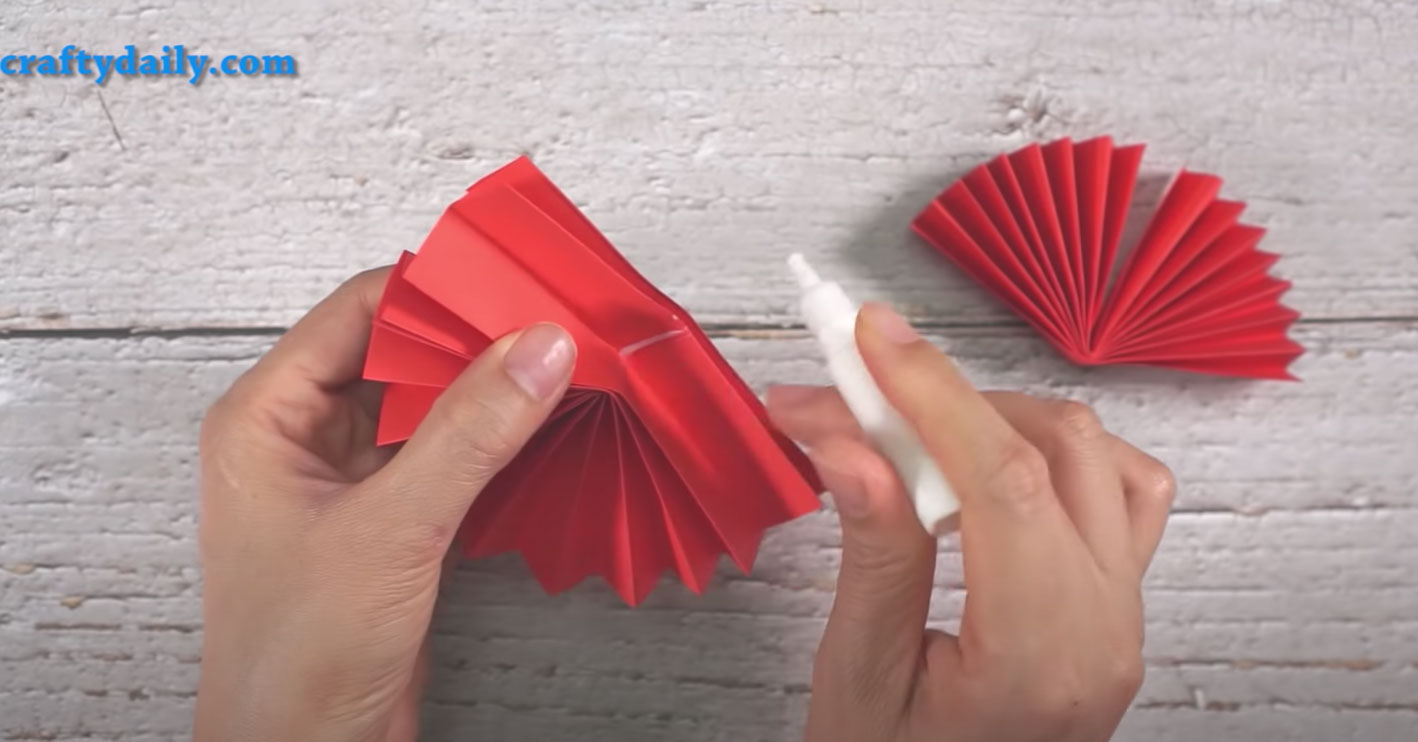
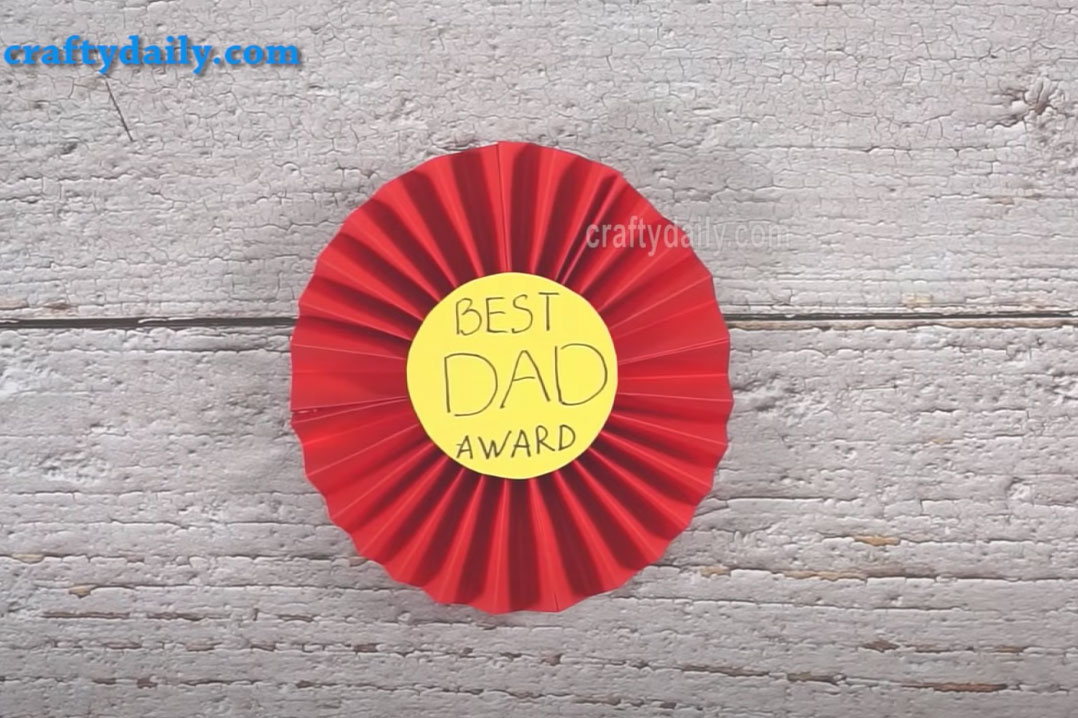
Stick 2 strips together and you have a circle.
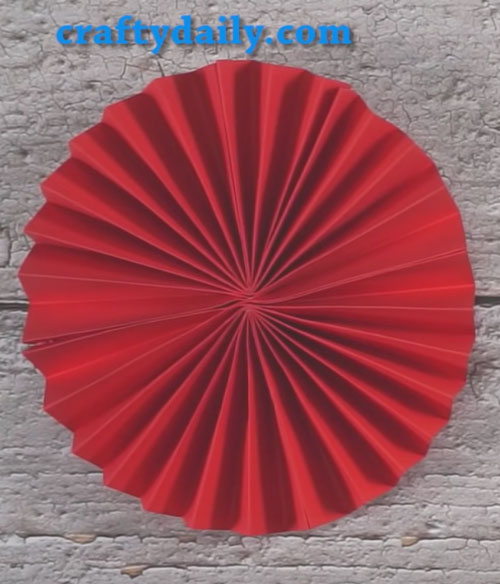
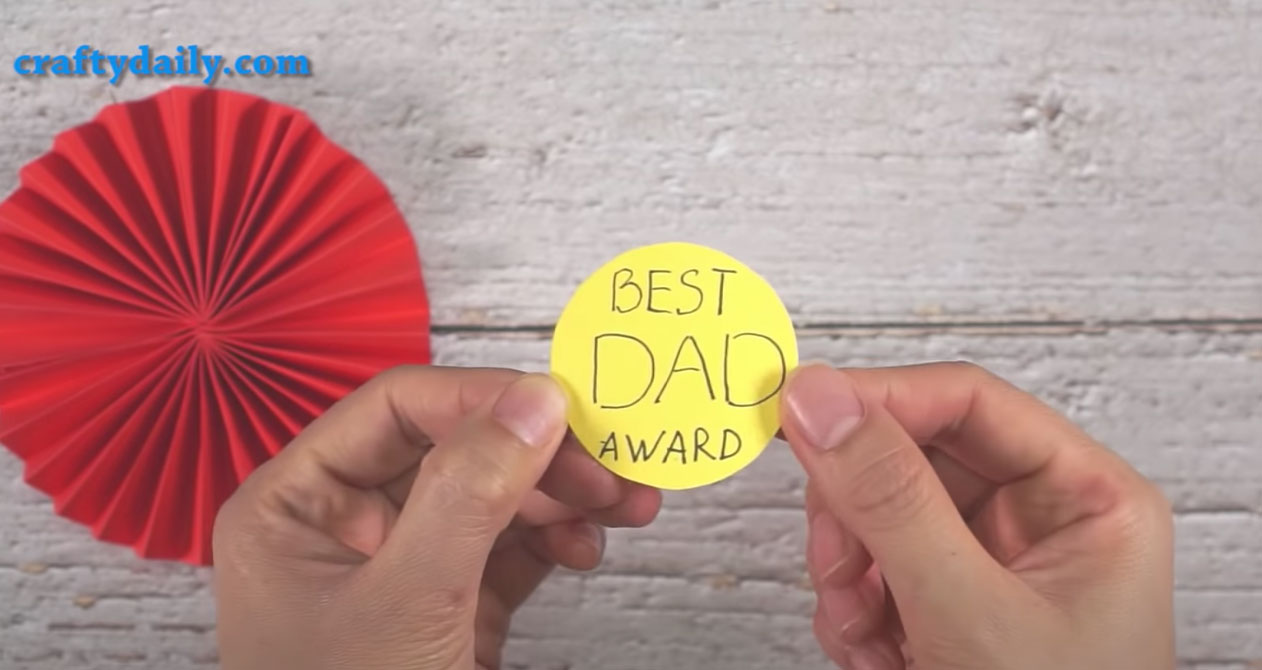
Attach a paper circle with your messages to the center of the folded paper using glue (or a hot glue gun) to keep it in place.
Step 4: Finish
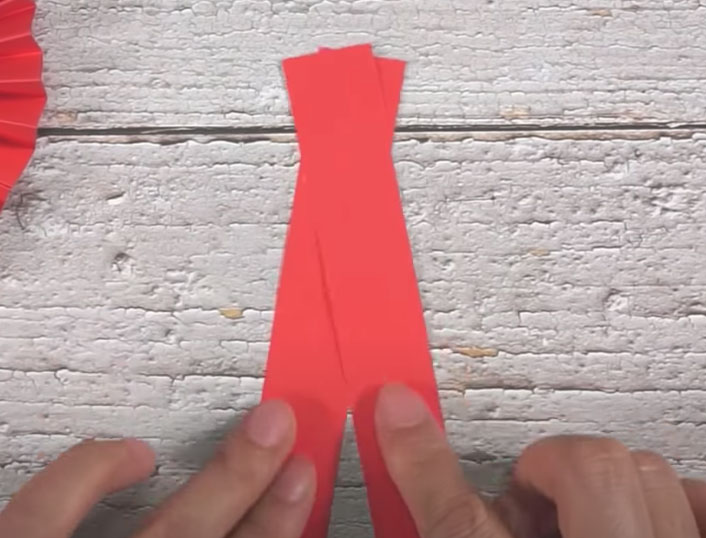
Cut 2 strips to make 2 ribbons by cutting triangles at the end of the strips.
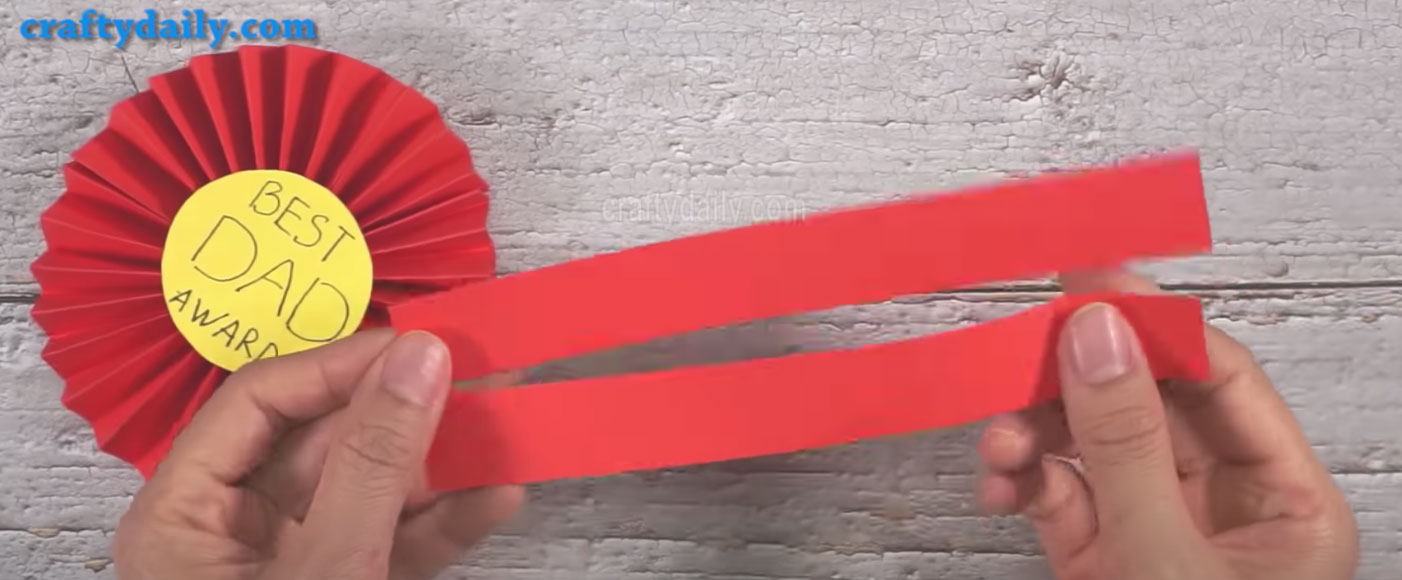

Glue them together at an angle
Now all you have to do is attach ribbons to the back of the paper circle using dry adhesive.
A few things to keep in mind
- The wider the paper strips the bigger the folded circle. You can change the size of it as you like.
- You can also change the width of the fold. Push it in more and it’s smaller, pull it out and it becomes larger. When you get it as you want, use the glue to secure it.
- You can be as creative as you like and adapt the circles to make them your own style.
You can also easily accommodate the awards for other occasions. Some suggestions for awards may include:
- Super Grandpa
- Sweetest Grandma
- Super Mom
- Star Student
- Hard Worker
- Best Manners
- Kindness
- Most Helpful
- Most Improved
- Super Speller
- Super Reader
- Neatest Handwriting
- Best Listener
———–